If you’re looking to refresh your space, consider these tips for painting flawless walls. There’s something satisfying about transforming a bare, scuffed surface into a pristine canvas that energizes your entire room. You don’t need to be a professional to get professional-looking results just the right know-how, a bit of patience, and an eye for detail. Below, you’ll find a breakdown of best practices that help you avoid streaks, drips, and uneven finishes. By mastering the process, you’ll create a living space that reflects your personality and makes every guest feel right at home.
Contents
- 1 Home painting strategies that elevate your space
- 2 Prepping your walls the right way
- 3 Best painting tools for a flawless outcome
- 4 Steps to a smooth finish
- 5 Calculating your paint needs
- 6 Pro tips for edges and corners
- 7 Layering and drying times
- 8 Adding a polished touch
- 9 Avoiding common painting pitfalls
- 10 Enhancing the final result
Home painting strategies that elevate your space
Painting isn’t just about covering discolorations; it’s about expressing your creativity and breathing new life into your surroundings. When you take the time to plan your color schemes, everything else tends to fall into place. Warm colors like reds and yellows can make a living room feel inviting, while cool tones such as blues and greens bring a soothing vibe to bedrooms or home offices.
Think beyond simply throwing on a fresh coat. You might explore accent walls, bold stripes, or subtle color blocking to give your home a unique identity. If you’re curious about how these methods can dramatically shift the ambience of a room, you can often find inspiration by browsing interior design resources that offer amazing before-and-after examples.
Prepping your walls the right way
Wall preparation is the foundation for a flawless paint job. Skipping this step or rushing through it leads to bumps, cracks, and peeling that show up once the paint dries. Spend enough time clearing away dust, cleaning surfaces, and fixing imperfections so your paint adheres smoothly.
Cleaning and repairing
Start by wiping down each wall with a mild detergent solution or a specialized cleaning agent. Grease and grime can prevent paint from bonding, so it’s important to remove any residue. Once that’s done, inspect every inch for holes, cracks, or dents. Even tiny imperfections can ruin the final look, so fill them with spackle or joint compound, then sand the surface until it’s uniformly smooth.
Priming matters
After repairs, a coat of primer ensures your paint color looks vibrant and remains durable over time. Without primer, walls might absorb paint unevenly and require several additional coats. Investing in a quality primer pays off, as it boosts coverage and helps the paint stick more effectively. If you’re painting over a darker color, consider a tinted primer that matches your new shade, which makes the transition look even better.
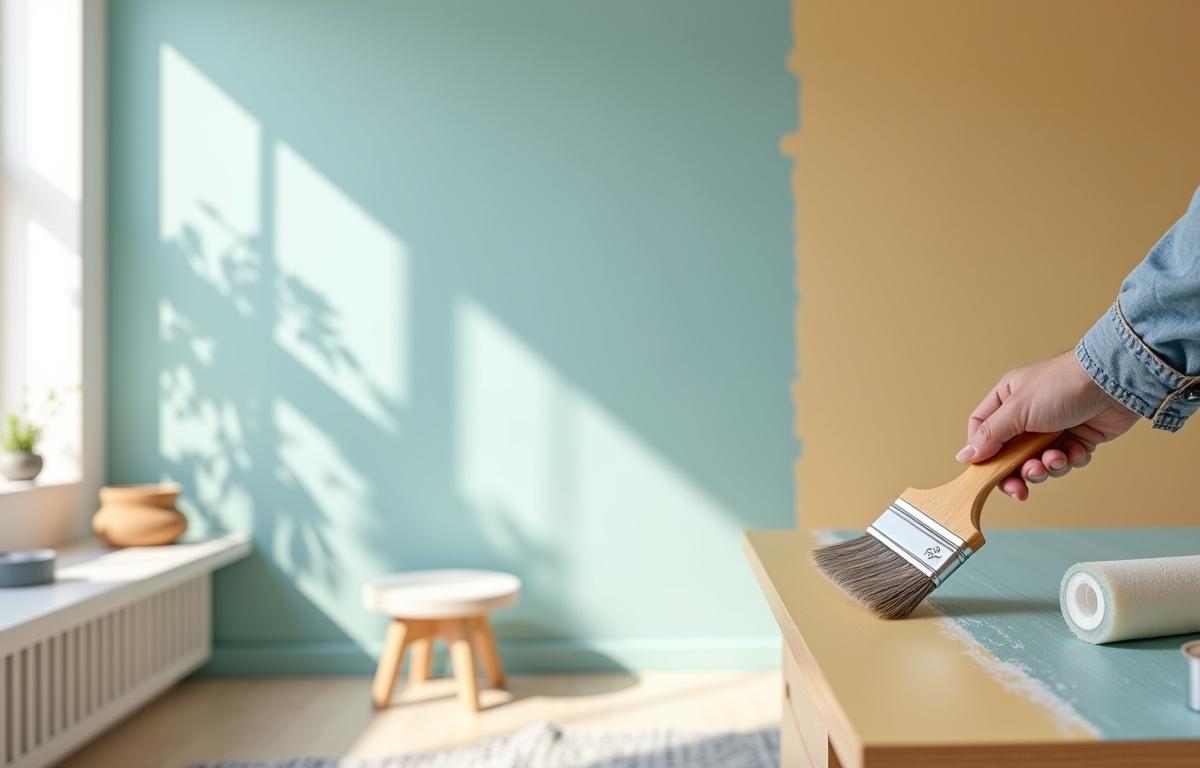
Best painting tools for a flawless outcome
Quality tools are as important as good technique. It’s tempting to grab bargain paintbrushes or rollers, but spending a bit more on reputable brands can save you headaches in the long run. Brushes that lose bristles or cheap rollers that leave lint behind sabotage all your hard work.
Look for brushes made with synthetic bristles for water-based paints and natural-bristle brushes for oil-based ones. Roller covers come in various naps the thicker the nap, the more paint it holds, which can be ideal for textured surfaces. For smoother, interior walls, a shorter nap works best. Also, don’t overlook painter’s tape for clean edges. When applied properly, it prevents those annoying paint bleeds that mar crisp lines.
Steps to a smooth finish
Painting is a multi-stage process, and doing each stage with care leads to fewer mistakes. When you’re methodical, the results speak for themselves.
Mixing and testing
Before starting, stir your paint thoroughly to ensure the color and consistency are even. If possible, transfer a small amount of paint to a test board or a hidden area of your wall. This quick test reveals how the paint looks when dry and how many coats you might need. Plus, you’ll confirm the color is exactly what you envisioned before you commit to an entire room.
Edging and rolling
Begin with the edges and corners using a short, angled brush. Work steadily, but don’t overload the brush. Too much paint leads to drips and uneven layering. Once you finish the borders, move on to rolling the main surfaces. Work in small sections, usually three-by-three feet, overlapping each pass slightly. The final pass of the roller should be done with a light application, known as “tipping off,” which smooths out any lines or marks.
Calculating your paint needs
Overestimating your paint can be costly, while underestimating leaves you scrambling to buy more halfway through. Each paint can lists a rough square-foot coverage. Take room dimensions, doorways, and windows into account to avoid overspending or running short.
If you do end up with leftover paint, store it in a cool, dry place for easy touch-ups later on. Small containers with airtight lids are especially good for saving any extra paint. You’ll thank yourself when you want to patch up scuffs or nicks without searching for that exact color match again.
Pro tips for edges and corners
Edges and corners can be the biggest telltale sign of a DIY job. They either look sharp and intentional or messy and inconsistent. Focus on consistency use the same brush or tape technique around all doors, windows, and trim to ensure uniform quality.
Taping tricks
Make sure surfaces are dust-free before applying painter’s tape. Press down firmly, especially along the edges where paint seepage is most likely. After painting, don’t wait until everything is fully dry to remove tape. Carefully peel it off at a slight angle while the paint is still tacky to reduce the risk of chipping.
Angular brushwork
If taping feels cumbersome, an angled brush can be your best friend. Practice your steady hand by working in small sections. Keep the paint load on your brush moderate enough to glide but not so much that you lose control. Patience in these tight spots can really make your work appear professional.
Layering and drying times
You might be tempted to do multiple coats back to back, especially if you’re short on time. However, proper drying between layers is critical. Rushing can cause smudges and uneven finishes. Refer to the paint can for recommended drying times, but bear in mind that humidity and temperature also affect how quickly paint sets.
Ventilation and conditions
Painting in a well-ventilated area speeds drying and reduces fumes. If it’s too cold or too humid, paint might dry more slowly. Aim for moderate indoor temperatures and, if possible, open windows or use fans. This not only helps the paint cure but also keeps airborne particles from settling onto freshly painted surfaces.
Adding a polished touch
The final appearance goes beyond color alone. A few extra finishing touches can elevate your project and make your walls look truly polished.
Texture and sheen
Experiment with different paint sheens to match each room’s function. Flat or matte finishes hide tiny surface flaws but might not be as washable. Satin or eggshell finishes offer a bit of sheen and are easier to clean, especially in high-traffic areas. For bathrooms and kitchens, semi-gloss or gloss paints resist moisture and grime better.
Trim and molding accents
If you have baseboards or crown molding, painting them with a contrasting sheen can create an elegant frame around your fresh walls. This subtle difference draws attention to architectural details and prevents all surfaces from blending together. Be sure to tape carefully around any trim or molding to keep your wall color crisp and free of stray brush marks.
Avoiding common painting pitfalls
Regularly stepping back to examine your work can mean the difference between a flawless room and one that shows small mistakes. Don’t get so caught up in the process that you forget to look at the big picture. Catching issues like roller lines or missed spots early lets you fix them before the paint fully dries.
It’s also good practice to maintain a consistent painting rhythm. If you stop for too long in one spot, the paint may start to dry, leaving patches that can appear uneven. Methodical movement combined with regular self-checks greatly increases your chances of a perfect finish.
Enhancing the final result
After all your hard work, you want your painted walls to stand out for years to come. Proper maintenance goes a long way toward preserving that fresh look.
A soft, damp cloth can handle most minor marks before they become permanent stains. If you need heavier cleaning, use a gentle cleanser specific to your paint’s finish. Avoid harsh scrubbing or abrasive pads. With routine upkeep, your paint remains vibrant, and you can enjoy the comforting feeling of living in a well-cared-for space.
Don’t forget that painting can also spark new ideas for your décor. Bright walls might inspire you to rearrange furniture or display a new piece of artwork. A lighter tone could bring out the natural light, nudging you to rethink your window treatments. Each fresh coat offers an invitation to play with design and add personal touches that make each room uniquely yours.